It has been a month since I swapped from my Canon full frame DSLR to my Fuji X-T2 so I thought I’d put down some more detailed thoughts, incase anyone else is considering the switch.
The main point is that it has got me excited about photography again! This may just be the new kit effect, however the smaller/lighter camera is also opening up more options for me. There also seems to be a lot of excitement around mirrorless cameras at the moment, especially given the announcements at Photokina the other week – you know something is becoming mainstream when even the BBC is reporting about it!
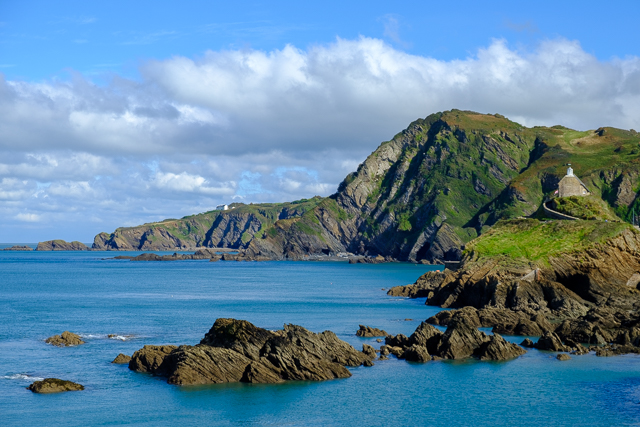
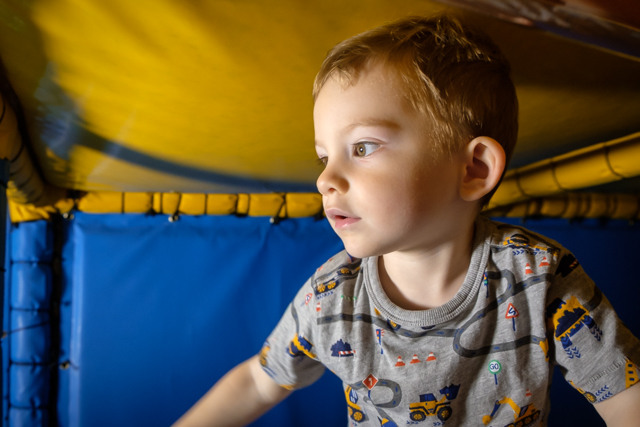
The first real test for the X-T2 was the family holiday to Croyde, this gave me a great opportunity to shoot a lot and get to know the camera. Most of the photos I took were of Owen – it is handy having your own mini, almost tame, model that you can take around with you! This meant the auto focus mode got a lot of use! Going from 9 auto focus points on my old Canon, to 91 on the Fuji was simpler than it sounds, once I had got the hang of the various modes. At first I was using the wee joystick on the back to select individual focus points – revelling in the ability to place the focus point almost exactly where I wanted it. That was until I discovered the face detection setting – when activated the camera sets the focus point on the human face nearest to the centre of the frame. It seems pretty reliable and is certainly quicker than manually selecting focus points, especially useful when your subject is a wriggly two year old!

Before I was fully confident with the face detection setting I took the time to study the other autofocus modes and set the camera up as if face detection didn’t exist. I have set up the rear command wheel to choose the size of the focus area. The standard way to enter this mode it to press the joystick, then select with the wheel – I have set the press of the command wheel to enter the mode, to speed up this process. I have the rest of the autofocus settings allocated to three of the “D pad” buttons, as I feel that autofocus is one area where I will be changing settings frequently. I have also set the “AF-L” button on the rear of the camera to be “AF-On”, replicating the back button focus feature that I used on my Canon DSLRs. However unlike Canon, you cannot manually focus in autofocus modes; you can however autofocus in manual focus mode…

Since getting back from Croyde I have tried some still life photography at home, mostly borrowing Owen’s toys after he has gone to bed. This has given me a chance to experiment with manual focus. I have found the auto focus useful get focus into roughly right area before tweaking with the manual focus ring on the lens. Focussing manually is so much easier than on a DSLR, as Fuji have a few features to help you:
- Focus check – as soon as you move the focus ring (in manual focus mode) the image in the viewfinder/on the rear screen is magnified allowing you to check your focus in greater details. You also can use the joystick to move the zoomed in area around the frame, for when you are focussing on something away from the centre of the viewfinder.
- Digital split image – the viewfinder image is split in three, where they line up is the area in focus. This reminds me of borrowing my Dad’s old Nikon FM2, a fully manual film SLR, which to the day is still the best manual focus system I have ever used. Unfortunately the Fuji still isn’t as good as the old Nikon.
- Focus peak highlight – which highlights the in focus high contrast images in a bright colour in the viewfinder/on the screen. I find this easier to use than the digital split image, especially in combination with the focus check feature.
- Distance indicator in the viewfinder/on the screen – show you the distance you are focussing on, including a depth of field indication, which changes with aperture.
Having the camera mounted on the tripod for the still life photos gave me a chance to experiment with controlling the camera over wifi, using the Fuji app on my iPhone. Unfortunately the app isn’t as user friendly as the camera, and I found it pretty restrictive. For instance I couldn’t work out how to get from shutter priority to manual control and even with the drive mode switch for the camera set to “Bracket” it would only take one photo, instead of the three I expected it to take. In the end I switched the wifi off and used an old mechanical release cable I had left over from my film photography days.
The only other problem that has arisen from swapping camera system is that Lightroom, the software I’ve used to edit images since 2007, doesn’t work brilliantly with Fuji raw files. This is something that is well known, and was a concern of mine before switching, but I had done some testing and not had a problem. However when I was working on the photos from Croyde I noticed a few worm like artefacts, which weren’t present in the jpeg files from the camera. Capture One, an alternative program to Lightroom, has recently announced that they now support Fuji cameras, I’ve had a quick dabble and they seem to handle the raw files significantly better than Lightroom. However there are other downsides, so this is something I need to investigate further.
When I traded in my Canon kit it was only worth enough to swap for the X-T2 camera body and 18-55mm “kit lens”, which is actually a pretty good lens! However this left me lacking a fast prime, a telephoto lens and a flash gun. So I have been trying to sell things on eBay to fund at least a fast prime lens, ideally before a trip to London at the beginning of December (it turns out that shrinking my camera gear has made most of my camera bags redundant, including some very nice/expensive FStop Gear bags). I will probably go for the 23mm f2 lens, which should be ideal for fitting to the camera for bike rides. I also need to buy a bigger and faster SD card – the one I am using is almost ten years old. I got a shock when I looked up the price of the UHS-II cards recommended by Fuji, I’ll likely get a 32GB card, which makes me feel old – I remember buying a 32MB CompactFlash card for my first digital camera – a Canon Digital IXUS v2. I wonder where that is now…
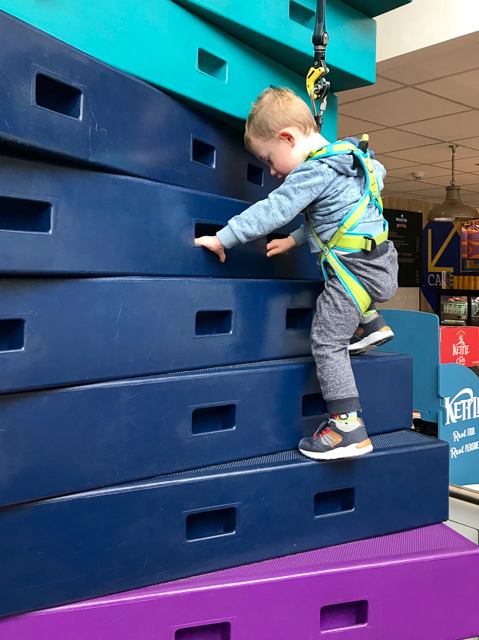 Owen is a little monkey, and like all little monkeys, he likes climbing things! I had looked at taking him to the