After breakfast on day four we packed up the MR2 to return to Perth, on our way out of Wester Ross we stopped at Plockton, which despite being on the west of Scotland faces east, the sheltered location actually means that palm trees can grow and there were quite a few dotted around the village.
From Plockton we joined the A87 then A82, which we followed down to the Nevis Range near Fort William, the only Scottish ski hill I’d not previously visited. I was very impressed with the mountain bike facilities they offer, the lift served, red graded XC trail sounded particularly interesting – I need to bring my bike to Scotland in the future!
Next we met one of Jen’s friends for lunch before hitting the so called Scotsburgring around Loch Leven. The road around the loch used to be the main road, but has now been bypassed by a bridge, so I practically had the twisty road to myself. I was enjoying the road so much I didn’t get a chance to stop for a photo, somehow Jen managed to sleep through most of the lap too. If you’re even on the A82 between Glencoe and Fort William it is well worth taking the old road around the loch, if you enjoy driving you won’t be disappointed!
The traffic gods were on our side for the next bit of road, up Glencoe and over Rannoch Moor, we had a clear road and stunning views in front of us. We seemed to have used up all our luck with the traffic on the prettiest bit of road, as when we turned onto the A85 towards Perth we got stuck behind a succession of slow moving vehicles all the way to Perth, which was especially agonising as we knew there was a haggis supper waiting for us on arrival! It had been a long day on the road, and I’d even managed to get sunburnt, in Scotland, in April, but the haggis supper, washed down with a can of Irn Bru was a perfect end to the day!
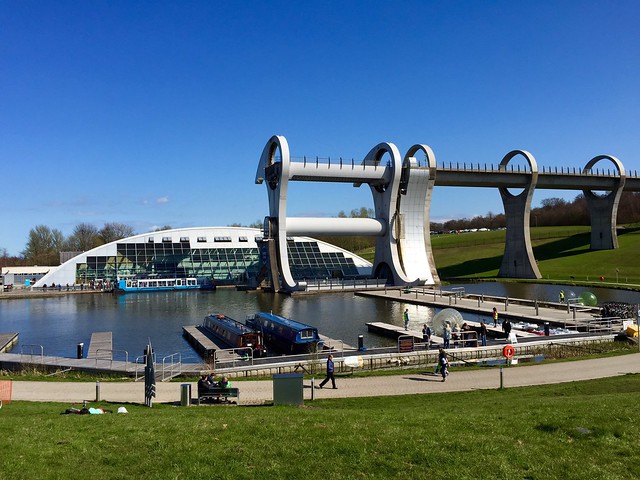
Day five was a rest day in Perth, to spend time with my parents. The morning was pretty chilled out, we had a mooch around town, with tea and cakes at a new cafe in a furniture shop – much better than it sounds. After lunch, which was smoked salmon we’d brought back from Shieldaig, we all got into my Dad’s Mercedes convertible and went to a trip to the Falkirk Wheel. At least the MR2 was having a rest! The Falkirk Wheel was worth the journey, it is a rotating boat lift, linking two canals, which were previously linked with a flight of eleven locks. The structure itself is an impressive feat of engineering, standing 35m tall, meeting an aqueduct jutting out from the hillside. The land around the basin at the bottom of the lift has also benefited from redevelopment and was full of people enjoying the sunshine. Of course, they were offering boat trips to experience the lift and as we’d gone all the way there it would have been rude not to go on one! Going up the lift was good, but on the return journey it was surreal to be going along the aqueduct into what looked like thin air! Fortunately we didn’t sail over the edge and the lift deposited us safely back in the lower basin.
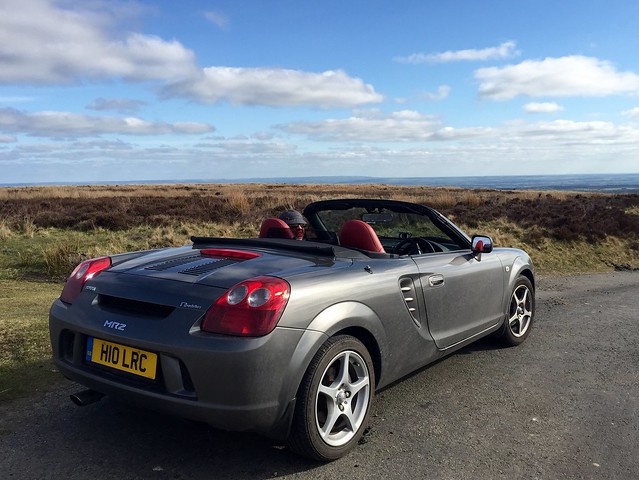
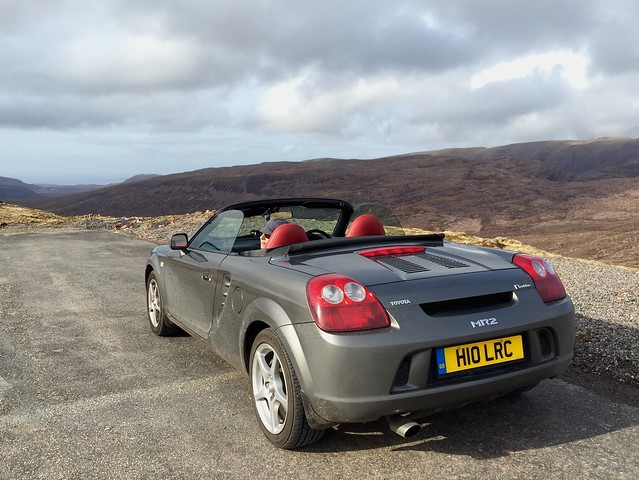
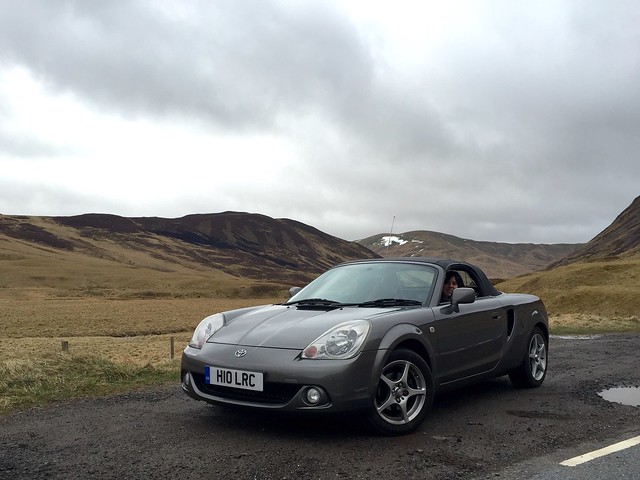
Total (MR2) distance: 920 miles.