I have been a Mac guy for years, since I bought a second hand iBook G3 as a student. However there has been one application that I missed from my time using Windows – Notepad++, a simple text editor with code highlighting. The fact that I use it almost daily on my work PC just rubs salt into the wound.
Searching for “a Mac equivalent to Notepadd++” usually ends up pointing to more fully featured text editors, such as Atom. Atom is great, especially when working on a project with multiple files and using git. Atom is where I do most of my coding, but it is slow to load, especially on my ageing iMac. Often I just want to quickly edit a config file, or grab a snippet of code, so I would either wait for Atom to load, or simply use “TextEdit” or even “Nano” in the terminal. However these do not have basic developer features like code highlighting. Which is why I find often found myself looking for that perfect lightweight code editor for Mac.
Then after reading the same lists of fully featured editors, I saw a mention of CotEditor on Reddit and it seemed to meet all of my requirements – it is a native Mac app, designed for speed and was also free! It seems to still be under development, with a repository on Github, and is distributed through the Mac App Store – giving peace of mind that Apple have checked it over.
I have now been using CotEditor for a few weeks and I even prefer it to Notepad++ on my work PC. The design feels more user friendly, despite being simpler and it always seems to open quickly when needed. It just does the job it is meant to do really well, without any unnecessary bells and whistles. I am really surprised that it is not more widely used, so hopefully this post will be found by anyone looking for a lightweight, fast code editor for the Mac, that works like Notepad++ on the PC, and more people will learn about this great app.
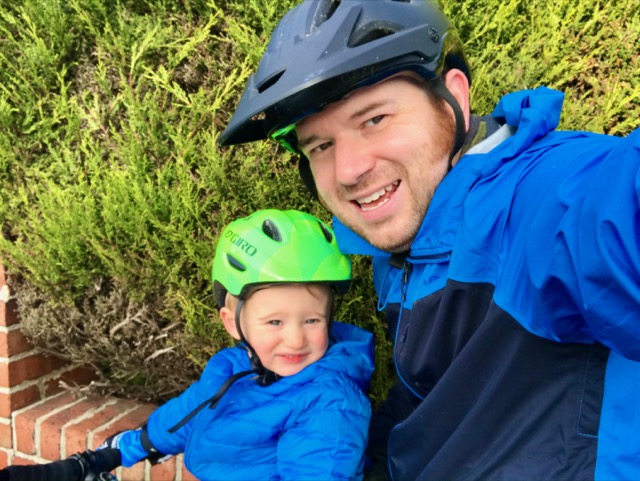
I have no doubt that Owen will enjoy school, he is very inquisitive and enjoys learning about numbers – he can already write his name and count to one hundred! He has met his teachers a few times, and had a settling in session earlier this week, where he definitely appeared to be truly settled in – exploring the classroom and adding his own commentary to the teacher’s story at story time. He just about managed to stay on the ride side of the line between being expressive and disruptive, although he has probably identified himself to the teachers as “one to watch”.
Along with the mandatory photo in school uniform for social media, I thought that I would ask him some questions and record the answers see how his answers change each year:
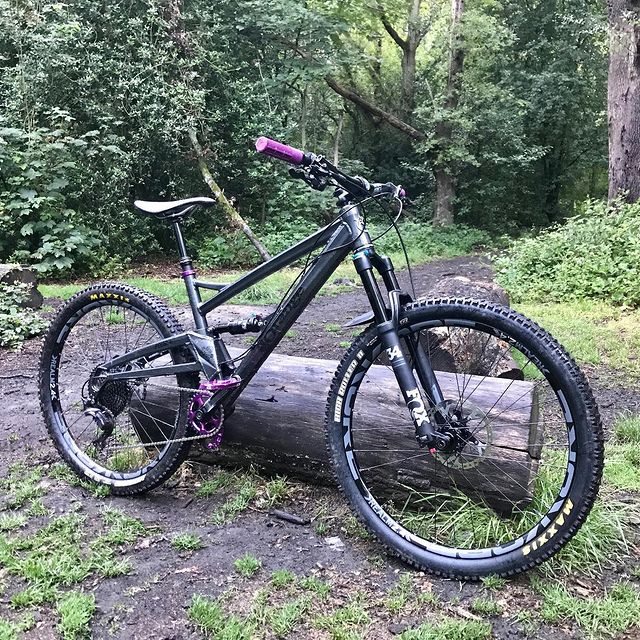
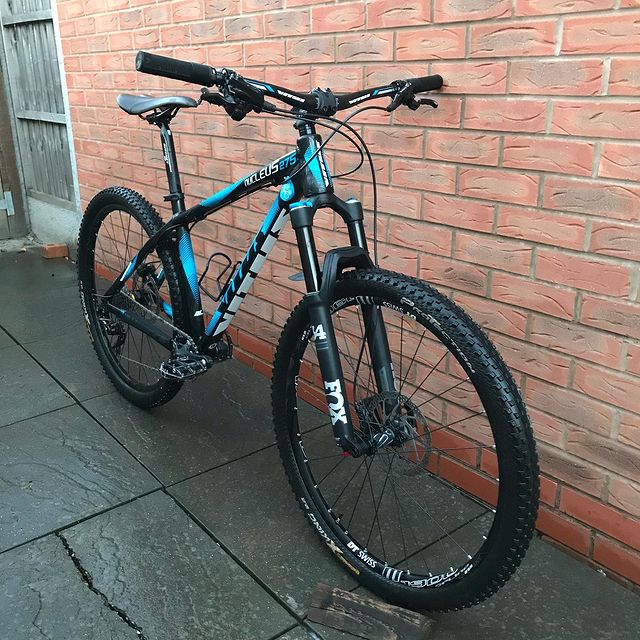
After 6,256km it was finally time to retire my trusty Vitus Nucleus hardtail mountain bike. I think it is fair to say that buying it, in 2014, changed my life! For the previous fifteen years snowboarding had been my sport of choice, but it did not take long for the mountain biking bug to bite – I got the same buzz from riding my bike as I did from snowboarding, but I could ride from home, whenever I wanted! Mountain biking is now a big part of my life, and I am pleased to say that my boys are also getting in to mountain biking – this all started with my Vitus Nucleus.
However, even at the time of the upgrades, I knew that the Vitus was not the perfect hardtail for me – the frame standover was too high, the reach was too short and the Orange Four had introduced me to the benefits of dropper seat posts and bolt thru axles. The upgrades were all chosen with a view to moving them over to a new frame, and I had researched suitable frames. As bikes started to fly off the shelves during lockdown I noticed that there was only one of my preferred frame left available – so I bought it, signalling the end of the road for the Vitus Nucleus.
However it did get a stay of execution – I needed to finish servicing my Four before starting the new build, so had over a month of the Vitus being my only bike. It’s last ride was a session at the pump track with Owen. Having been stripped of parts, the frame now hangs on the wall in my garage, to remind me of all of the good times!
Whilst on holiday in Dorset, we wanted to have a family bike ride – the two most suitable places seemed to be Wareham Forest and Moors Valley. We chose Moors Valley, even though it was a longer drive, as there appeared to be more there, so we could make a day of it. Even as we arrived we could tell it was different to the Forestry England sites we are used to visiting – with a number plate recognition system to pay the more expensive than usual parking fees…
The area around the visitor centre was busy, but after we had ridden past the Gruffalo (and the Gruffalo’s child) and got on to the blue graded “Through the Forest” trail it felt like we had the place to ourselves! Owen was leading the way, followed by Jen, and Henry was on the front of my bike, mostly drinking from my Camelbak. For me, life does not get any better than riding single track through the trees with Jen and the boys. The trail was perfect for riding with Owen – flat and twisty. Some parts were through mature trees, others were smaller tress with purple heather and there were a few boardwalk sections over the boggy bits. It felt like a proper mountain bike trail, but without the gradient. Owen (and Jen) loved it! At one point we let some faster riders past, Owen commented about how fast they were, then followed them and he kept up well.
I had identified a decision point, where we could stop for a snack and decide if we would complete the trail, or head back to the van. This was a good opportunity to let Henry out of his seat, as at the moment he is just a passenger, and as much as he enjoys being on the bike, he really wants to be free to explore in the woods! After some jelly babies we decided to complete the rest of the trail, as Owen was riding so well. In hindsight this may have been the wrong decision as the boys started to struggle towards the end of the trail – but nothing that could not be remedied with an ice cream!
The ride was 7.8km, most of which was on the single track, another new record for Owen! I do not think it will be too much longer until he is able to do the full blue trail at Hick’s Lodge, which is our “local” family MTB trail, which is a bit longer and more technical.
After the ride we also visited the “Play Trail”, which surprisingly Owen still had energy left for. It made for a great afternoon, however I am sure that we could have spent all day there. I could tell where the extra parking fees went, the play trail in particular was very impressive – I liked how it got families away from the car park and in to the forest. I also noticed that despite a “no bins” policy, there was next to no litter in the car park nor on the trails. I would thoroughly recommend it as somewhere to visit for a family bike ride with younger children.
On most of our bike rides from home, Owen and I pass the cycle speedway circuit on Hearsall Common, and Owen usually asks if he can ride it. On our ride last Tuesday (with Jen and Henry too) we stopped to watch the racing – their first meeting of 2020. Later that evening I noticed on the Coventry Cycle Speedway Facebook page that they would also be restarting junior coaching sesssions on Saturday morning. Owen was very excited – he has been missing his Ready Steady Riders sessions over the past few months and must have been looking forward to bike coaching from someone other than me!
For those who do not know what cycle speedway is – it is a form of cycle racing held on small shale oval tracks. Four riders, two from each team competing, race against each other in a short sprint race. Oh, and the bike have no brakes! (Owen was riding his regular bike, with working brakes).
After a rush to leave the house, we ended up being the first to arrive – a novelty for Owen and I, but when people arrived they were friendly – Owen loves telling people about his bike! It was good that Owen was not the only first timer, nor was he the only under five. Like everything these days, there had to be coronavirus measures, so each of the riders had a cone in the centre of the track to stand by when they were not riding. I think our only newbie errors were wearing shorts and me keeping Owen’s drink, rather than sending him on to the track with it – given the speed of the riders, I can see why they do not cross the track to get drinks etc.
As soon as Owen got on the track he was off like a shot, putting in laps with the other riders – with a huge smile on his face! Owen’s first test of listening to the coach, Myke, was when the group got split up, with the older/faster riders going first (the session covered from preschoolers to teenagers!). Of course Owen wanted to ride with the fast ones, rather than his allocated group. His listening was much better when he got out onto the track for the younger riders’ structured warm up – speeding up and slowing down as instructed. I always find it interesting watching the boys when they are with somebody else – usually it is only the moments before I am spotted at nursey pick up time, so it was good to watch Owen from the spectator area. He was taking instructions and participating in the group – he is definitely more outgoing than I was as a child!
The main area of coaching for the session was line choice in the corners – something that will transfer well to Owen’s riding on mountain bike trails. Cones were set up to mark the entrance, apex and exit of the corner and the riders took it in turns to ride through on the racing line. Owen got the hang of this quickly, (including the queuing system with two metre gaps due to help with social distancing). I also noticed that on the run from the corner exit to the back of the queue he was practicing his mountain bike “attack position” (pedals level, knees and arms bent) – a proud Dad moment for sure!
The last part of the session, was Owen’s favourite – races! Again the riders were split into their groups, and some given a handicap, starting further around the track. Owen did some great defensive riding, taking wide lines to prevent other riders from overtaking. I have no idea if it was intentional, maybe he picked it up from watching the racing earlier in the week, but it was impressive! Being the smallest rider, he came last in the races, but what matters is that he was trying hard and having fun!
After the session had finished, we rode home through the woods, with Owen asking to stop and session a few trickier bits of trail. He was so pleased with himself after the ride and deservedly so – not only did he ride well, he listened to the coach and behaved well too.
Cycle Speedway is completely different from the mountain biking that I enjoy, and would like to encourage Owen to also enjoy. However a lot of the skills are transferable and any time on the bike is good. Having a good local club, means that Owen will be able to go regularly, so will benefit from the structure and commeraderie of training with a team. It would be a two hour round trip for any similar mountain bike coaching for him, which I think would detract from the fun. We will definitely be going back to more of the club’s cycle speedway coaching sessions.
The 417 bike park in Gloucestershire is one of my favourite places to ride my bike. Owen’s too, at least the indoor pump track anyway. So when a few of our friends from the Little Rippers Facebook group mentioned they would be riding there on my day off and the weather was forecast to be good – Owen and I had to be there!
It was also a good excuse for a boys day out in the van – I moved Owen’s seat to the front to make the most of it, which he absolutely loved. We enjoyed spotting diggers, dumper trucks and sports cars together on the drive down, before Owen fell asleep.
When we got to the bike park we warmed up on the pump track, where we met the Kostka girls. Not that we needed to warm up – the temperature was 34ºC! It was Owen’s first time on this pump track on his pedal bike – but you could not tell. He was whizzing round, doing lap after lap, as he did last year on his balance bike! It was also a good opportunitiy for me to try out my new bike (blog post coming soon!) on the pump track. Each time I suggested to Owen that we tried the main trails Owen responded with “just a few more laps Daddy…”.
Eventually it was time to return to the van for our picnic lunch. Rather than our usual picnic in the back of the van, we sat in the shade under some trees, as it was so warm. Whilst eating, Owen announced that he needed a wee (why do four year olds only seem to need the toilet when they are eating?), as I got up to take him to the toilet he asked if he could go on his own. As it was only across the carpark I let him, and I was told he looked so pleased with himself as he ran off to the toilet. In the end I had to go and help him, as he could not reach to turn the tap on to wash his hands, but it is good to see him gaining some independence.
Before returning to the pump track for “a few more laps” we scoped out the lower portion of the “Blue Racoon” trail. Owen seemed keen to ride it, but after the pump track… After a few more laps the rest of the Little Rippers crew let us know that they were relocating down to the “Green Caterpillar” trail at the bottom of the hill – so Owen and I quickly changed our plans to join them. But first, despite the heat, we went back to the van to swap in to our full face helmets. There was a group of fully kitted up downhillers milling around in the car park, and as he passed them, Owen pulled the biggest skid that I have ever seen him do, stopping perfectly by our van. I have no idea where he learned to do that, but the kid has style!
Rather than riding directly down to the bottom of the hill, we pushed back up the hill a bit, to ride down on the “Cheese Roller” trail. Before dropping in, we watched a few riders coming past. Owen seemed happy that he could ride the section of trail we could see, so when there was a gap we went for it! Owen rode so well, controlling his speed and picking good lines through the berms. When we got to the big berm in to the bottom field he pulled to the side of the trail and stopped – that particular berm looked a bit too steep for him. We walked around it, whilst I explained to him that it was a good thing that he realised that the berm was not for him – knowing your limit and stopping is as important as the skills to ride the feature. Rejoining the trail after the steep corner, Owen was away again. Over lockdown, the crew at the bike park have rebuilt the trail and it was running really well – especially useful for Owen on a bike with 14″ tyres! The last section of trail is a set of four increasingly large tabletop jumps (which means they can be rolled over). The larger jumps are defitely taller than me, but Owen did not even flinch, riding up, over and down each one perfectly! I was so proud to be following him down the trail! Then, after the jumps and on the gravelly flat section at the end of the trails, he had a silly little fall.
We walked back up to the “Green Caterpillar” trail, to hang out in the shade with the rest of the crew. It was lovely being able to sit and talk, whilst the kids (ages ranging from two to seven) played together, occasionally getting on their bikes for a few laps. It was a perfect way to cool down. We pushed our bikes back up the lower section of the “Cheese Roller” trail, to ride the jump line again. This time there was a big queue of people waiting for the minibus back to the top of the hill and I heard some impressed comments as I followed Owen through the jumps.
After a bit more chilling out, well as much as possible in over thirty degree heat, we pushed our bikes back up the hill for an ice cream, then more laps of the pump track. As everyone finished riding for the day they gathered at the pump track and a fun session ensued. Most of the kids had finished riding and were cheering us on, however Owen kept on putting the laps in – I had to stand in his way to get him to stop for the group photo at the top of this post! After the photo there were more laps until Owen went over his handlebars – even though I was right behind him I could not tell what went wrong, but he had a pretty bad cut on his chin. At this point I should mention that we had taken a decision together, not to wear our full face helmets on the pump track, on the basis it was too hot – I was more concerned about over heating than crashing – I think in future we will both be stricter about wearing full face helmets on the pump track. I got him off the track, and used his Buff (which I had in my pocket in case he needed a facemask) to stem the bleeding. I figured that he was OK, as by this point he was asking if he could get back on his bike and his crying had changed from “my chin hurts” to “I want to do some more laps”. We quickly gathered our things, put a plaster on Owen’s chin, said goodbye and set off to the nearest hospital. During this process I managed to put a rather large scratch on the frame of my three ride old bike, which was annoying, but obviously my mind was elsewhere.
Owen was very brave at the hospital in Cheltenham, and we barely had to wait at all – we were in and out within thirty minutes, with Owen’s chin cleaned, glued and stickered back together. As we were now going to be late for dinner we got a McDonalds drive-thru and ate it in the van, which Owen thought was brilliant. He even ate all of his food without a fuss! He got a Scooby Doo toy with his meal, so on the way back I told him about Scooby Doo, his friends and the “Mystery Machine” – Owen seems to love watching the televison programmes that Jen and I watched as children. Given it was past his bedtime, and that he had been riding in the heat all day, I was surprised that Owen stayed awake for the drive back to Coventry. It was great chatting about stuff with him – it feels like he has really matured over the last few weeks.
Posting this a few days later, there does not seem to be any lasting effects from his injury, he still enjoys riding his bike and does not seem at all scared, if anything we have to remind him to take it easy! He has also watched a lot of Scooby Doo cartoons…
A good friend of mine has just downloaded Adobe Photoshop Lightroom Classic (which from now on I will refer to as Lightroom) and asked me for some advice. Another friend on the group chat, who is more familiar with Lightroom said it would be useful, so I thought it was worth posting on my blog. I am by no means a Lightroom expert, but having used it since version 1.0 in 2007 I am confident that I have got my workflow dialled. There are many ways to do things in Lightroom, this is just what I have found has worked for me over the last thirteen years of digital photography.
Import
The import dialog is the starting point for Lightroom – you cannot do much without any photos! The good news is that once you have set up the import dialog how you like it, you barely need to make any further changes each time you import more photos.
I work through the dialog left to right, first choosing my source location (red area), which is almost always my SD card. In the middle section, which after selecting your source should be showing all your photos, the most important decision is between Copy as DNG/Copy/Move/Add (blue area) – this determines what happens to your source files. Copy is generally the best option to use, as explained in the next paragraph, (feel free to skip it if you do not want/need to know why). Immediately above the thumbnails (green area) I like to show “All Photos”, but “New Photos” can be useful, if for example you have forgotten to format your memory card. There is a checkbox at the top left of each thumbnail to select which images get imported – I like to import all of the images, then delete from the catalog when I have viewed the images in loupe view.
The copy options copy the files from your source, for example SD card, to the destination specified in the next step – I use these options most. I do not use “Move”, as that deletes your source files, I prefer to control when my files are deleted. “Add” does not do anything to your source files, simply pointing the Lightroom catalog to the source location – which I fine, until anything happens to the source location, for example ejecting your SD card… The difference between “Copy as DNG” and “Copy” is that the former converts any camera manufacturer proprietary raw files to Adobe’s DNG (Digital Negative) format – I used to use this option when I shot with Canon cameras, but since switching to Fuji I have been using the standard “Copy” option – as Adobe to not handle the RAF to DNG conversion particularly well, and I want to keep flexibility to edit with other tools. It is always possible to convert raw files to DNG using the Library > Convert to Photo to DNG… option at a later date, if you want to benefit from the marginally smaller file sizes and embedded metadata provided by DNG.
Now you have chosen where to import images from and which images from that location you want to import, the final section (yellow) is where you define how the images are imported. Working through this section top to bottom:
File Handling: I build standard previews, if I had a more powerful Mac, with more storage space, I would go for 1:1 previews, but standard work well enough for me. As I store all of my files on the same device as my Lightroom catalog I do not build smart previews, this feature would be useful if you work on a laptop and store your library on an external drive. To me, the most important setting here is “Make a Second Copy To:” which I use to each of the files to an external drive, ensuring that whatever happens after import I have a copy of the original file. This is another reason why I select all of the images for import in the middle section.
File Renaming: I do not bother with this, I prefer to rename files on export, when working in Lightroom the filename is not really used.
Apply During Import: This is where you can start to speed up your processing! I have created presets to apply both my standard processing and metadata to each of the files. Over the years I have found that I like to add a touch of clarity/vibrance and apply the standard lens corrections. Since switching to Fuji I have also set it to apply the “Provia” film simulation, which my camera is configured to shoot with. You can configure your own presets in the Develop module to match your style, but I have shared mine for reference: Fuji/non-Fuji. The metadata preset adds my name/contact details/copyright statement to the files, so that they can be tased back to me if found online. If all files in the import are a set and have the same keywords, I will also add the key words at this stage.
Destination: This is where the imported files will reside on your system, if you chose to Copy/Move them. I have a specific folder for all of my Lightroom library images, although I let Lightroom organise them by date taken, so it automatically creates a YYYY/YYYY-MM-DD folder structure. If you scroll down and look at the section Lightroom will show you how many images will be added to each folder – in my example below all the photos were taken today, so go into the same folder.
Generally once configured, you will not need to change these settings again. So now, all you have to do now is press “Import” and wait for Lightroom to do its work! Depending on your computer spec and amount of files this could take a while! At this point I remove the SD card from my Mac, put it back in the camera and set all of the dials/setting back to my standard set up. I do not format the SD card until immediately before I use the camera next time, to give the peace of mind of an extra copy of the images.
Once your files have been imported in to Lightroom, it is important to note that you should only move/delete your image files from within Lightroom. This is the golden rule of Lightroom, as manipulating the files elsewhere can break the links to the files and cause all sorts of confusion.
Choosing Which Images to Process
Lightroom handily places your imported photos into a collection called “Previous Import”, which is where I prefer to work on them. My first job is to identify the “picks” and “rejects” – I do this in the loupe mode, with each image taking up most of the screen. The keyboard shortcut for loupe mode is “E”, or simply double click an image in grid view.
When marking picks and rejects, I use the P and X keys to speed things up, if you type capital P or X (or U for unflagged) the next image from the filmstrip is brought up, allowing you to move through a large collection of images quickly. I tend to do multiple passes – the first rejecting, with X, any obviously out of focus or poorly composed images. Any standout images get flagged as picks with P. After each pass I use CMD + backspace to remove all of the rejects from my library, and also “Delete from disk” when given the option. I then review the picks – have I got enough? Too many? All the shots I was after? Then depending on the outcome, I will loop through the remaining images until I am happy with my selection of picks, which I will then process and add image specific metadata, such as keywords and captions. Processing and exporting is a bit beyond the scope of this post, as they depend on your style and what the images are being used for…
Catalog Management
You would think that after exporting images you are done – but a bit of work post export can help keep your catalog (and disk drive) tidy and help you find images at a later date. In addition to the pick and reject flags, Lightroom has two other ways of marking images – colour labels and stars.
I use stars to denote the quality of the image:
5* images are my very best work. The photo above of the canal roundabout is one of my 5* images.
4* images are my best work work in a genre, for example motorsport. These are generally the photos that appear on my portfolio website.
3* images are ones that I would like to keep in my library, usually ones I would like to look back on myself, rather than share.
2* images need some attention, usually they are images I have not had time to process.
1* images are images that I need to work on in Photoshop, I used to use it to identify images that needed to be merged in to HDR or panoramas, but since Lightroom gained this capability I have been using the 1* button less.
A top tip for applying star ratings is that you only need to press the appropriate number button 1-5 on your keyboard, or 0 to remove a star rating. You can search on star ratings on an equal to lower/greater than basis.
I use the colour labels to identify what an image has been used for after export:
Blue means that the image is online somewhere, this blog, my Flickr etc.
Yellow means that I have printed the image.
Green means that the image has been both published online and printed, like the image above.
Red images have been licensed elusively – red is a warning not to do anything else with the image.
After applying ratings and colour labels to images, I then decide if I want to keep the unprocessed images in Lightroom or not. For images that I do decide to keep, I have set up a smart collection, which automatically collates all images over six months old with a 2* rating or lower and no colour label. I can then review this smart collection periodically, and delete any unwanted/unused images on the basis that if I have not done anything with them after six months, I am unlikely to do anything with them at all – however they were backed up at import if I ever need to get them again…
The metadata, colours, stars, keywords etc that I add in Lightroom, along with my regime of removing unused files means that despite thirteen years of photography, with all my files going in to Lightroom, I am able to find any photo that I need fairly quickly and, despite my ageing iMac the application still runs relatively well. I can see how a Lightroom catalog could end up in a complete mess, without proper planning and a strategy in place.
Fuji Camera Profiles
One of the things that I like most about having switched to Fuji are the colours. Whilst Lightroom does not quite match the Fuji jpeg colours, their camera profiles do come close, so I will explain how to apply the Lightroom Fuji profiles.
The profile browser is accessed from the four rectangles button in the “Basic” part of the Develop Panel, just above white balance – as highlighted by the yellow rectangle above.
The section we are interested in is “Camera Matching”, for Fuji, this gives profiles for each of the film simulations available on your camera. I have favourited my most used (Provia/Acros/Classic Chrome/Astia/Velvia), so that they are easier to find in future. Although, as mentioned above, to make it even easier, I have created a preset to automatically apply the Provia simulation/profile to all Fuji images as I import them.
This has been a bit of departure from my usual blog content. It started off as a bit of a brain dump to help a friend, but I hope somebody has found it useful or interesting. Normal service, with photos of my boys, shall resume shortly!
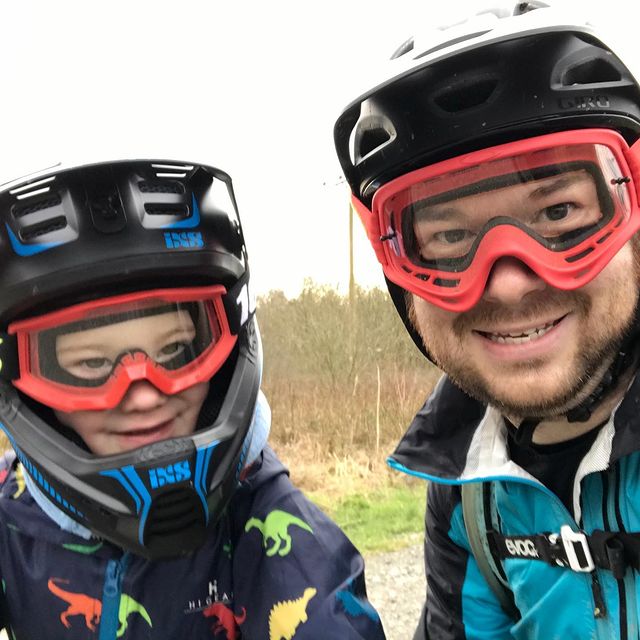
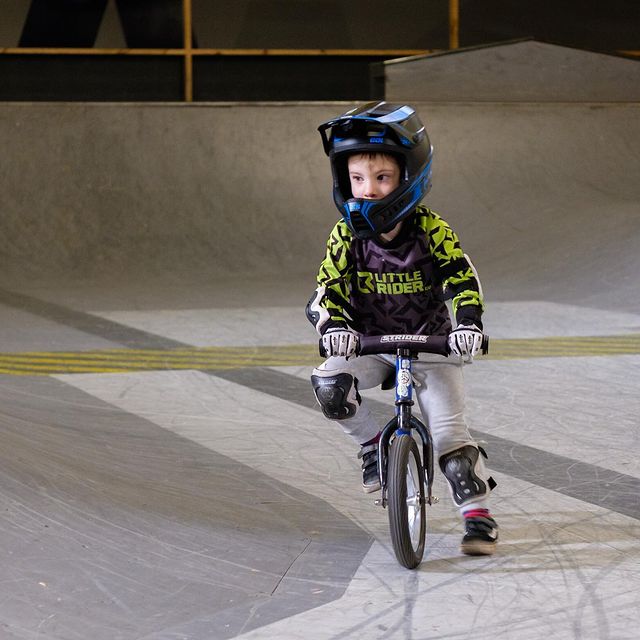
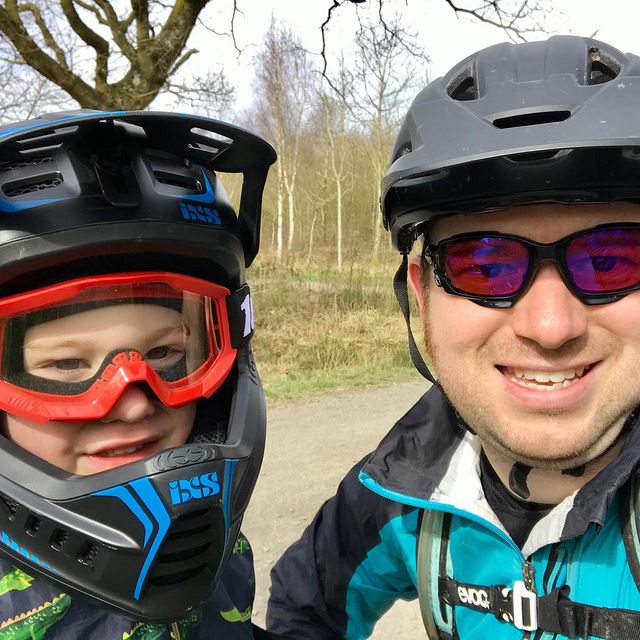
Owen and I had a fun bike ride at the weekend – in our new Little Rider Co jerseys! We wanted to find the “Old MacDonald” trail, which is the latest themed trail in the woods opposite the War Memoral Park in the Earlsdon area of Coventry. I am not sure who has been making these trails in the woods, but they have certainly made lots of children happy! Henry also loves exploring in the woods, so Jen brought him along in the running buggy, as I currently do not have a bike suitable for riding with him on the front.
Owen rode really well up through the woods on the common and along the pavement to Earlsdon, so we got to the the woods on Kenilworth Road way ahead of Jen and Henry. To kill some time we went to take a look at the dirt jumps, these are only small jumps in some bomb holes, but they are fun to ride. Owen remembered having ridden them on the Mac Ride with me last year, although he did not seem to remember riding them himself on his balance bike. I asked if he wanted to give them a go, but he said he would just watch me, but after my first run through I looked behind me to see Owen dropping in! He did really well on the steep drop in, but did not quite have enough speed to get out the other side. We did a few more laps before Jen called to say she was at the trail, so we dropped in one last time, Owen followed me in and made it out of the other side – he was stoked!
We explored the “Old MacDonald” trail in the woods with Jen and Henry, finding the animals which did, or did not, belong on the farm. Then the boys had fun adding sticks to a large log pile before we set off back home. After riding really well on the dirt jumps and in the woods, Owen had a really silly fall on the way home, when he got mixed up between brakes and went over the bars at a road crossing. After a big cry, and a drink from his hydration pack he was ready continue, even bombing down the “scary hill” back to the house. At 7.7 kilometres I think this is his longest ride to date!
Henry and I had the morning to ourselves, as Jen had taken Owen out to buy his school uniform (ready for starting school in September) – so we decided to explore our local woods! I say explore, we actually know the woods quite well, it is our default place to go, usually after collecting Owen from preschool on a Friday, but Henry really enjoys leading us down whichever path he fancies! Our first stop was “the ramp”, where Owen and I practice our bike jumping skills – Henry loved running up and down the ramp!
Then we met a bulldog puppy, who wanted to be friends with Henry – unfortunately Henry was not so keen. He seems to like dogs from the safety of his pushchair – even when we met my friend’s tiny and friendly puppy, Otto, last week Henry did not want to play with him. I put Henry back in his push chair and we continued to explore the woods, with Henry getting out out to investigate the dens and fairy kingdom that have appeared in the woods since lockdown started.
It is always a struggle getting him back into his pushchair, especially when we are in the woods, but the excitement of our adventure must have tired Henry out, as he fell asleep on the short walk home. I was able to transfer him to his cot without disturbing him, so I was able to have a productive few hours getting some jobs done.
All this time at home has meant mid-afternoon cake most days, so despite not really eating out for the last few months I have not lost any weight. Getting a takeaway from Basement Browns (the best pizzas in Coventry) this evening probably won’t help – but it is ten years since Jen and I went on our first date (and had pizzas), so can be excused!
Reinstate my mid-week cardio session
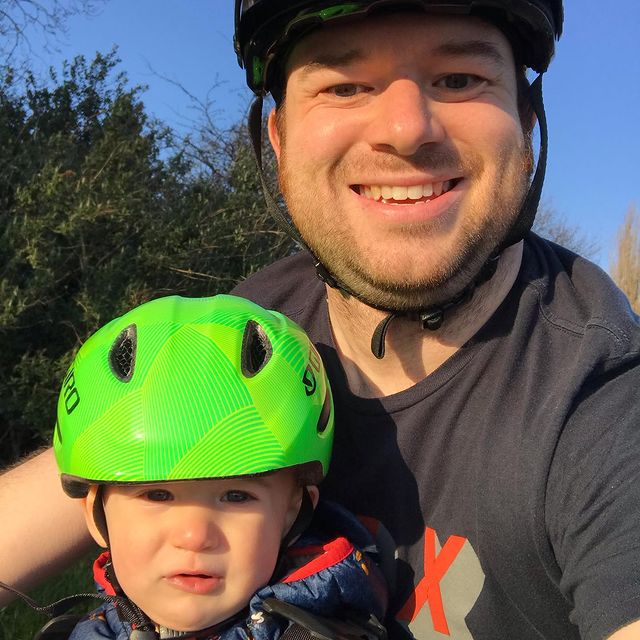
Until Owen started back at pre-school at the start of this month we were getting out for lots of bike rides – but I could hardly call them cardio sessions! Some of the rides have been whole family rides, with Henry on the front of my bike. I did have a great midweek ride last week though – twenty kilometers around my local trails.
Do a strength workout at least once a week
Strength workouts, and to some extent yoga, have definitely fallen by the wayside since I started working from home. I am so tired in the evenings, that I cannot face a workout. I did do some earlier in the year though and this has reminded me that I need to restart.
New blog server and theme
I have migrated my blog to a new server and created an automated workflow to reboot the AWS EC2 instance I run it on if the blog goes offline. The new theme will have to be a job for the second half of the year.
WordPress custom stories project
I did start looking at how I could switch up the order WordPress arranges posts when viewing by tag, but have not yet had time to try and code anything up. I did find a few plugins, but they did not do exactly what I wanted – which makes me even keener to build my own.
I have decided to put iOS development on ice – partly because my aging iMac cannot run the latest Xcode, but also because I want to concentrate on WordPress and web applications. Hopefully the logic/structure of the web application I am working on with transfer to an iOS app further down the line.
Tidy my desk
I tidied my desk during Henry’s naps when I was on parental leave, but since I started working from home my desk is overflowing – with at least two computers on it, multiple external hard drives, cameras, phones, and paperwork. I think I may have to reclaim my old office from Henry.
Tidy my garage
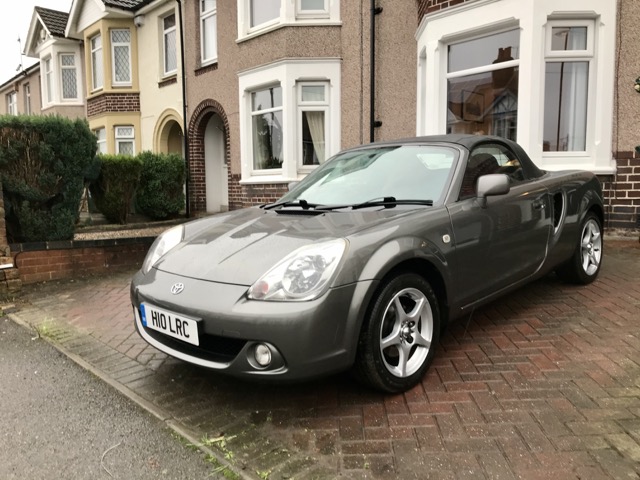
Tidying my garage is one of my top priorities now, it has got so messy that I cannot get my MR2 out! I recently completed a full strip-down and service on my Orange Four and I have another bike to build up – but a tidy garage will help with that process.
As it stands, Partho has got a 59 kilometer lead in our annual “who can ride the furthest” challenge – I had been leading for most of the year until Partho put in a few big road rides.
Do some night photography
Another one that has completely fallen by the wayside – hopefully I will get a chance to do this if our family holiday to the south coast goes ahead.
Fix up my radio controlled MX-5
This is one goal where I am almost overachieving… Before the end of January, I got the little MX-5 working again, and Owen and I took it for a spin. I have since repaired the body, but am yet to photograph/blog about it. However at the start of lockdown I treated myself to a Tamiya Lunchbox (a radio-controlled stunt monster truck van) and new radio gear, the build was fun, but as with the MX-5 I am not fully happy with the bodywork – hopefully, it will be appearing on the blog soon. I also managed to buy a 1:10 scale MR2 body, unfortunately, I do not yet have a radio control car that it will fit on, nor is it a common size. So I have got a few eBay searches saved for a suitable chassis.
Outside of my goals, I have replaced my BMW with a Volkswagen Transporter van, which has been a great purchase. I have also learned to build bike wheels, in anticipation of building a new hardtail mountain bike. Hopefully with lockdown starting to ease and things returning to a “new normal” I will be able to make progress on my remaining goals and be a bit better at posting on here, as I have a bit of a backlog to work through…